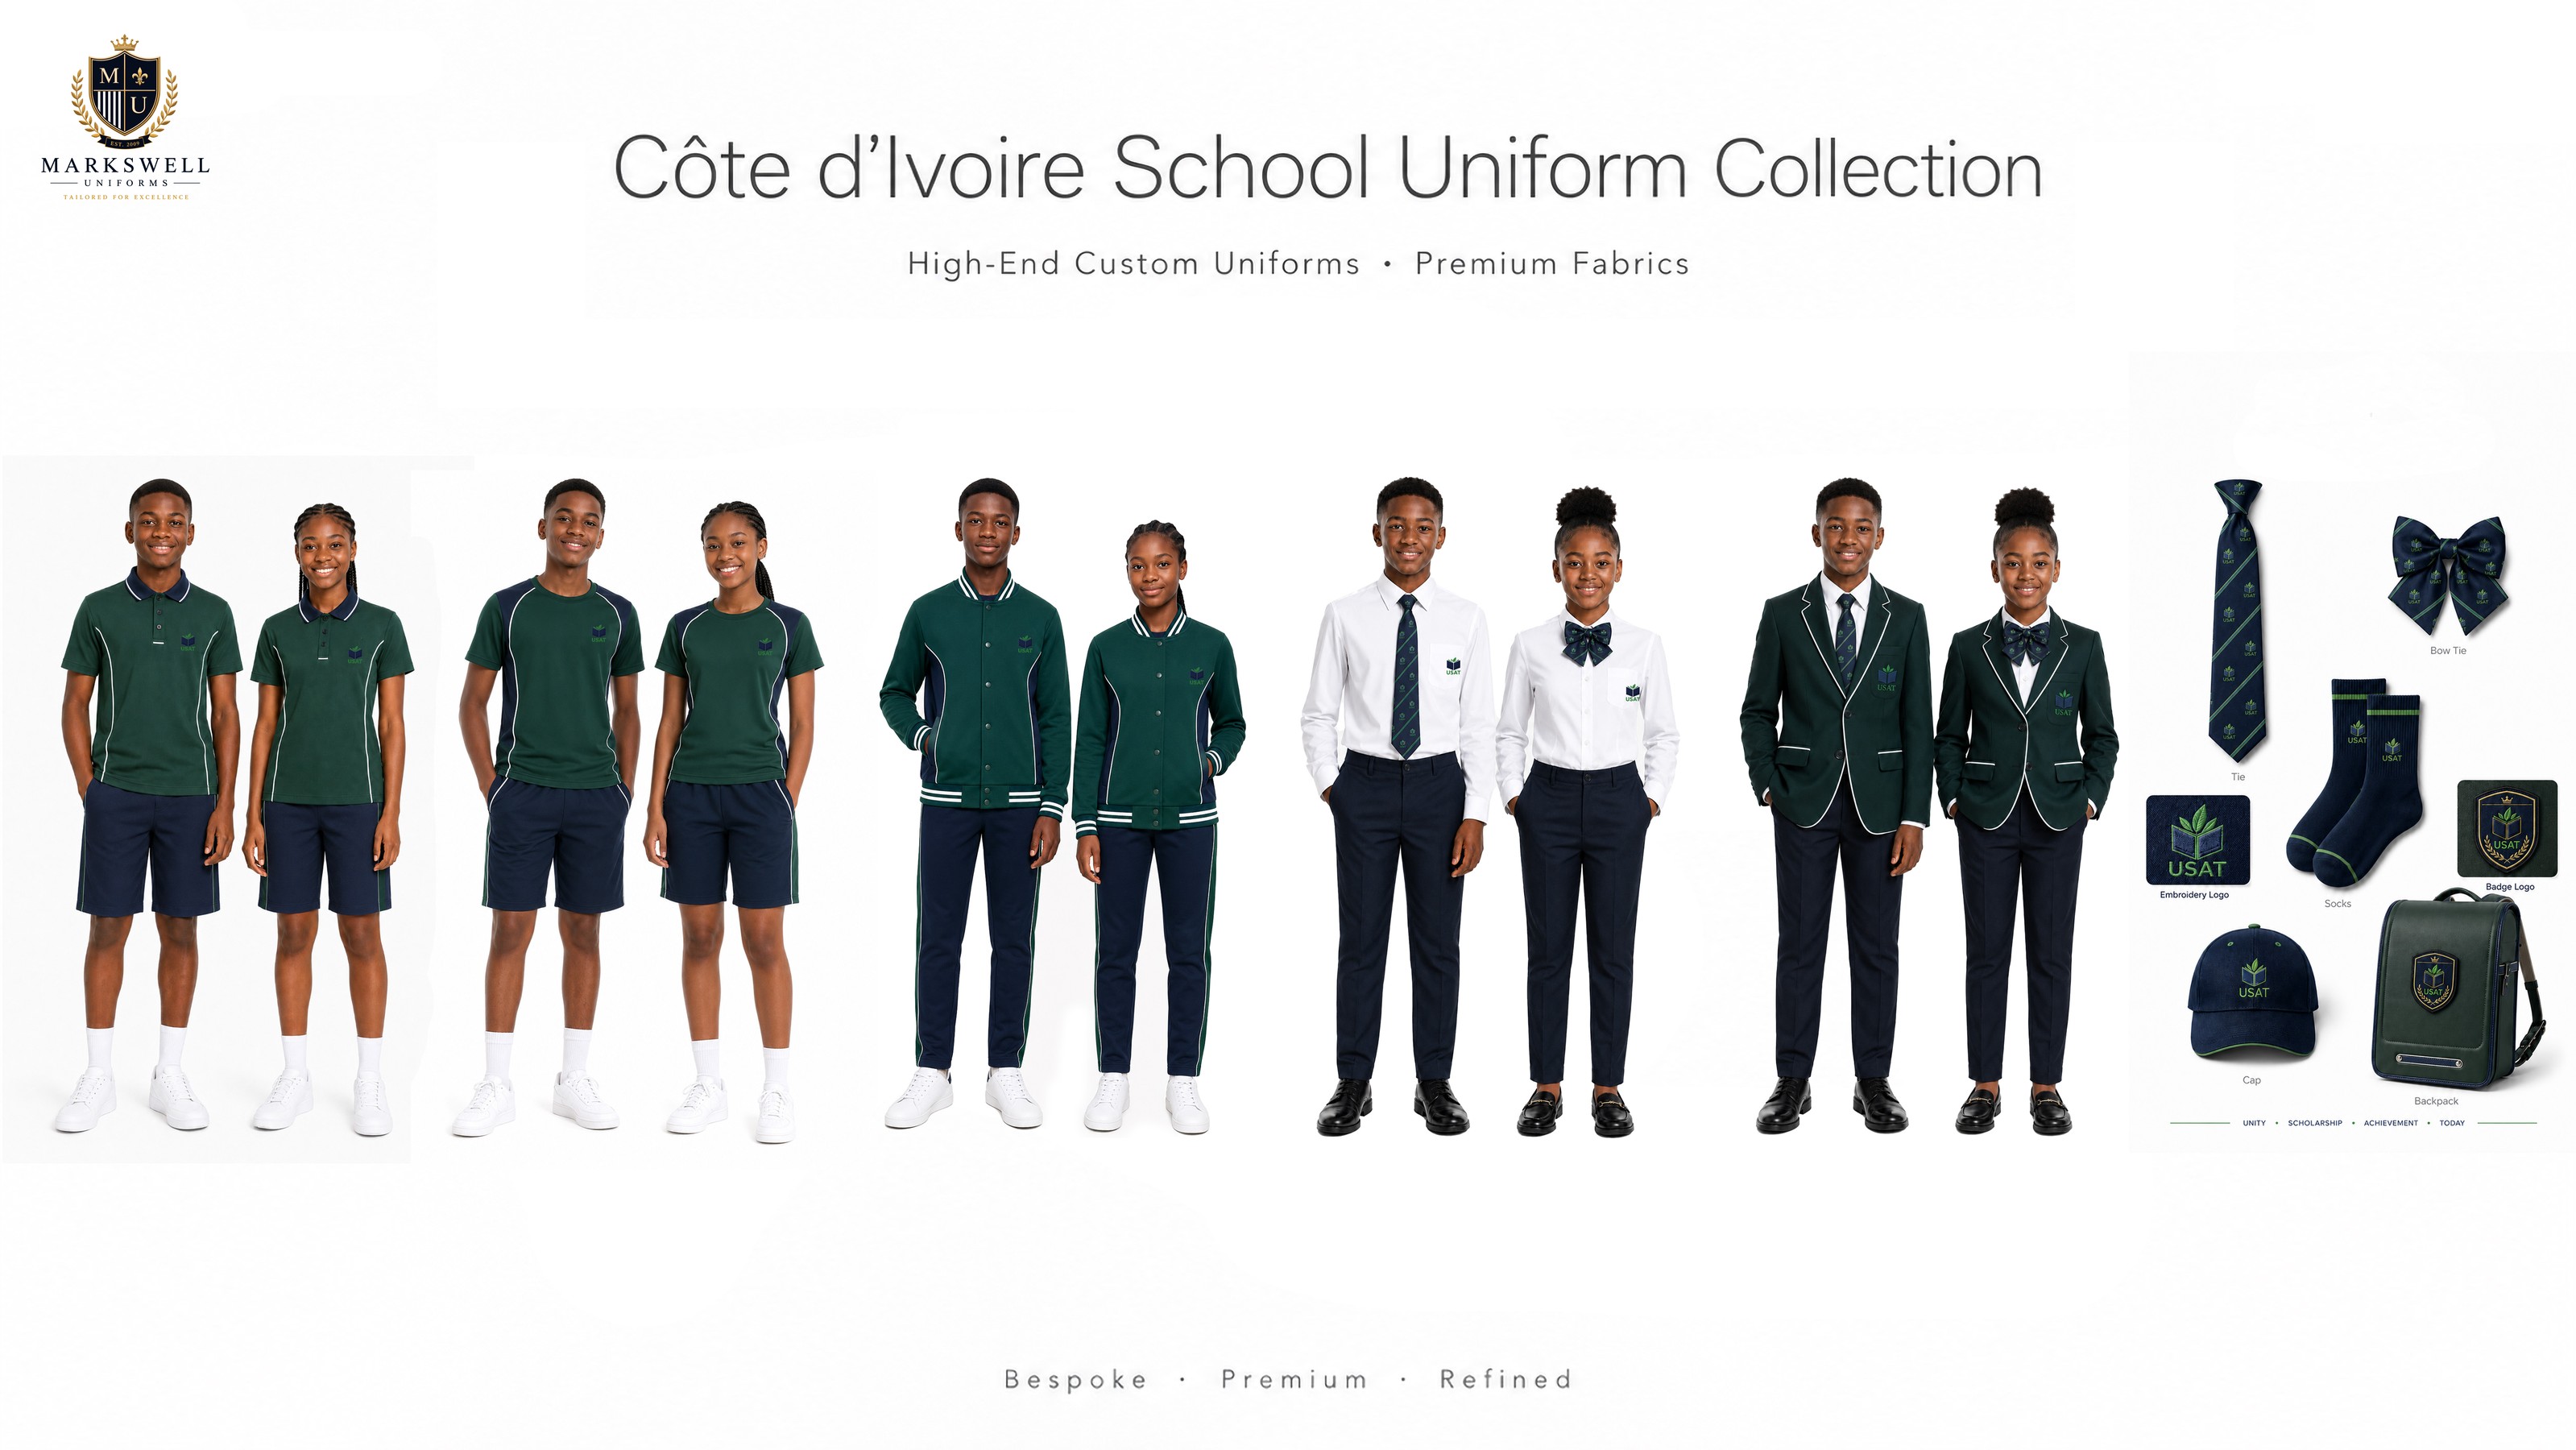
A custom school uniform project moves from an initial idea to a reproducible garment through a series of decisions. A design image can show the intended look, but it does not define the fabric, measurements, construction, colour, branding placement or care requirements needed to make the garment consistently.
The process should turn the school's brief into a documented specification, use samples to check details that cannot be settled on screen, and record exactly what has been approved. The sequence and number of sample rounds vary by project; each stage still needs a clear output and decision owner.
The development process at a glance
| Stage | Main work | Required output |
|---|---|---|
| 1. Project brief | Define wearer groups, garment range, use, budget and target date | Agreed brief and open-decision list |
| 2. Garment range | Map each style and identify shared requirements | Garment list and style map |
| 3. Design direction | Align silhouettes, colours, branding and range relationships | Reviewed design direction |
| 4. Technical pack | Convert design decisions into measurable requirements | Version-controlled technical pack |
| 5. Materials and branding | Confirm fabrics, colours, trims and crest methods | Approved material and branding references |
| 6. Sample development | Review design, fit or size-set samples | Recorded comments and revision actions |
| 7. Approval and change control | Record the decision and manage later changes | Dated approval record and controlled versions |
| 8. Production readiness | Confirm all required inputs before bulk work | Complete production handover |
Not every project needs six separate meetings or sample rounds. Some decisions can be reviewed together, but visual approval should not be treated as confirmation that all technical and physical requirements have passed.
1. Define the project brief
Record what the uniform programme needs to achieve and what is still undecided. A useful brief covers:
- Wearers: age ranges, year groups, campuses and any specific fit considerations.
- Garment range: formalwear, daily uniform, knitwear, outerwear, PE or activity garments; identify compulsory and optional items.
- Use: climate, movement, layering and expected care routine.
- Identity: school colours, crest files, brand guidelines and required logo positions.
- Commercial scope: estimated quantities by garment, colour and size, budget, destination and required arrival window.
- Decision owners: who approves design, technical details, samples, cost and production release.
Separate confirmed requirements from assumptions. If the fabric, size range or logo position is not decided, mark it as open rather than treating a draft choice as final. For the cost factors that affect the project budget, see What Affects Custom School Uniform Manufacturing Costs?.
2. Map the garment range
List each garment as a separate style. A range may share a colour palette and crest, but shirts, blazers, knitwear and PE tops have different construction and performance needs.
| Field | Information to record |
|---|---|
| Style identity | Style code, garment type and intended wearer |
| Fabric | Composition, construction, weight, colour and swatch reference |
| Fit and sizing | Size range, points of measure, grading and tolerances |
| Construction | Seams, closures, pockets, lining and special details |
| Branding | Artwork revision, method, dimensions, colours and placement |
| Care and packing | Care requirements, labels, folding and carton allocation |
| Approval status | Open decisions, sample version, approver and review date |
Identify which specifications are shared across styles. If several garments must use the same school colour or crest treatment, record the common reference instead of relying on separate emails.
3. Agree the design direction
Design boards, sketches and digital mock-ups help stakeholders compare silhouettes, colours, crest placement and how garments work together. They are useful for discussing direction before every construction detail is final.
For schools in England, the Department for Education's guidance on procuring school uniform supplies, updated on 8 October 2026, recommends requesting visualisations and fabric samples to support decision-making. This guidance applies to England, not all international procurement.
A visual approval should state what has actually been approved—for example, the overall silhouette or colour direction. It does not confirm that the physical fabric, fit or finished garment has passed review.
4. Build a reproducible technical pack
The technical pack turns design intent into instructions that can be checked during sampling and production. Depending on the garment, include:
- Front and back technical drawings with callouts.
- Points of measure, measurement method, size range and tolerances.
- Fabric composition, construction, weight, colour and approved swatch.
- Trims, labels, fastenings, lining and construction details.
- Crest artwork, dimensions, application method and placement.
- Care, packing and any agreed testing or inspection criteria.
- Version number, date, approval status and change history.
Do not leave important requirements only in a photograph or informal message. When a measurement, fabric or branding position changes, update the pack and identify the affected sample version.
5. Confirm materials, colours and branding
Material decisions should reflect the garment's intended use. Weight, drape, opacity, dimensional stability, colour performance, comfort and care may matter differently for a blazer, shirt or PE garment.
Review fabric swatches and trims before final sample approval. Record the material and colour reference, and check that the branding method suits the garment. A crest treatment that works on a structured blazer may need a different review on a lightweight polo or knitted item.
Where a performance requirement matters, agree the test method and acceptance criteria in advance. ISO 105-C06:2010 covers methods for assessing colour fastness to laundering; ISO 5077:2007 addresses dimensional change after specified washing and drying. A method reference does not prove that a proposed material has passed.
For fibre-selection background, see Cotton, Polyester or Blends? Choosing School Uniform Fabrics.
6. Use samples to answer specific questions
Each sample should resolve a defined question, and feedback should identify the version reviewed.
- Design or presentation sample: reviews appearance and proportions; materials or measurements may remain provisional.
- Fit sample: checks shape, movement and measurements against the size specification.
- Size-set samples: check grading across selected sizes. Choose the sizes according to garment and programme needs.
- Pre-production sample (PPS): represents the proposed production materials, construction, branding and specification as closely as agreed.
Not every project needs every sample type. Agree which samples are necessary, who will review them and whether a revised physical sample is needed after a significant change. Suppliers may use sample labels differently, so define the purpose, specification and approval criteria for each stage rather than relying on the sample name alone.
Compare each sample with the technical pack and identified material references. Record measurable corrections where possible. Detailed checks of fit, fabric, colour, branding, stitching and care belong in the sample approval record, not in a general comment such as “looks good”.
7. Record approval and control changes
An approval record should identify exactly which garment and specification were accepted.
| Record | What it should identify |
|---|---|
| Project and style | Programme, style code, colour and garment |
| Sample identity | Sample type, version, size and review date |
| Specification | Technical pack version, measurements and material references |
| Branding | Artwork revision, method, size and placement |
| Decision | Approved, revision required or not approved |
| Conditions | Outstanding changes, owner and due date |
| Authority | Named approver and whether this is the production reference |
After approval, manage changes in writing. A fabric substitution, revised measurement, new trim or changed crest may affect cost, appearance, quality or timing. Record the request, assess its impact, obtain approval and update the controlled documents.
Avoid ambiguous notes such as “approved subject to changes”. List each condition and state whether bulk production remains on hold.
8. Check production readiness
An approved sample is an important reference, but it is not a substitute for a complete production handover. Before bulk manufacturing, confirm that:
- The garment list and technical packs show the latest versions.
- Fabric, colour, trims and branding references are identified.
- Measurements, grading rules and tolerances are documented.
- Sample comments are closed or recorded as accepted exceptions.
- Testing and inspection requirements have a defined scope and owner.
- Labels, packing, quantity allocation and delivery responsibilities are clear.
- The approver has identified the exact sample authorised as the production reference.
Sample approval establishes the reference standard. Production quality checks then assess whether bulk garments conform to it; these are separate controls.
Common development problems
| Problem | Better control |
|---|---|
| A design image is treated as a full specification | Convert visual decisions into measurable details |
| Teams use different artwork or colour files | Use named references and revision numbers |
| Fit comments are subjective | Record measurements, tolerances and wearer feedback |
| Materials change after approval | Raise a change request and decide whether re-sampling is needed |
| Approval does not identify the sample | Record style, version, date and approver |
| Delivery dates ignore open decisions | Map approval dependencies against the required arrival date |
Frequently asked questions
Can a digital design board replace a physical sample?
No. A design board helps review appearance and coordinate colours or branding. It cannot establish fabric hand feel, finished fit, construction quality or wash performance.
Does every project need several sample rounds?
No. The number depends on the garment range, how complete the initial specification is and what needs validation. Agree the purpose of each sample before work starts.
Who should approve the final sample?
Agree decision owners at the start. School stakeholders may approve identity and appearance; technical or procurement reviewers may assess specifications and commercial requirements. Record who approved which decisions.
What happens if the pre-production sample is not approved?
Record the requirement that failed, the correction needed, the owner and the evidence required for re-review. Do not authorise bulk production while critical fit, material, branding or construction issues remain unresolved.
Next step: prepare a clear development brief
Assemble the garment list, wearer groups, school brand assets, available measurements, material preferences, estimated quantities, delivery window and decision owners. Mark provisional choices clearly so the supplier can identify what still needs to be resolved.
For wider supplier selection, read How to Choose a School Uniform Manufacturer.
Discuss your school uniform development project with MARKSWELL. Share the brief and available references so the project scope, technical questions and sample requirements can be reviewed.